
Redirect payment flow
Introduction
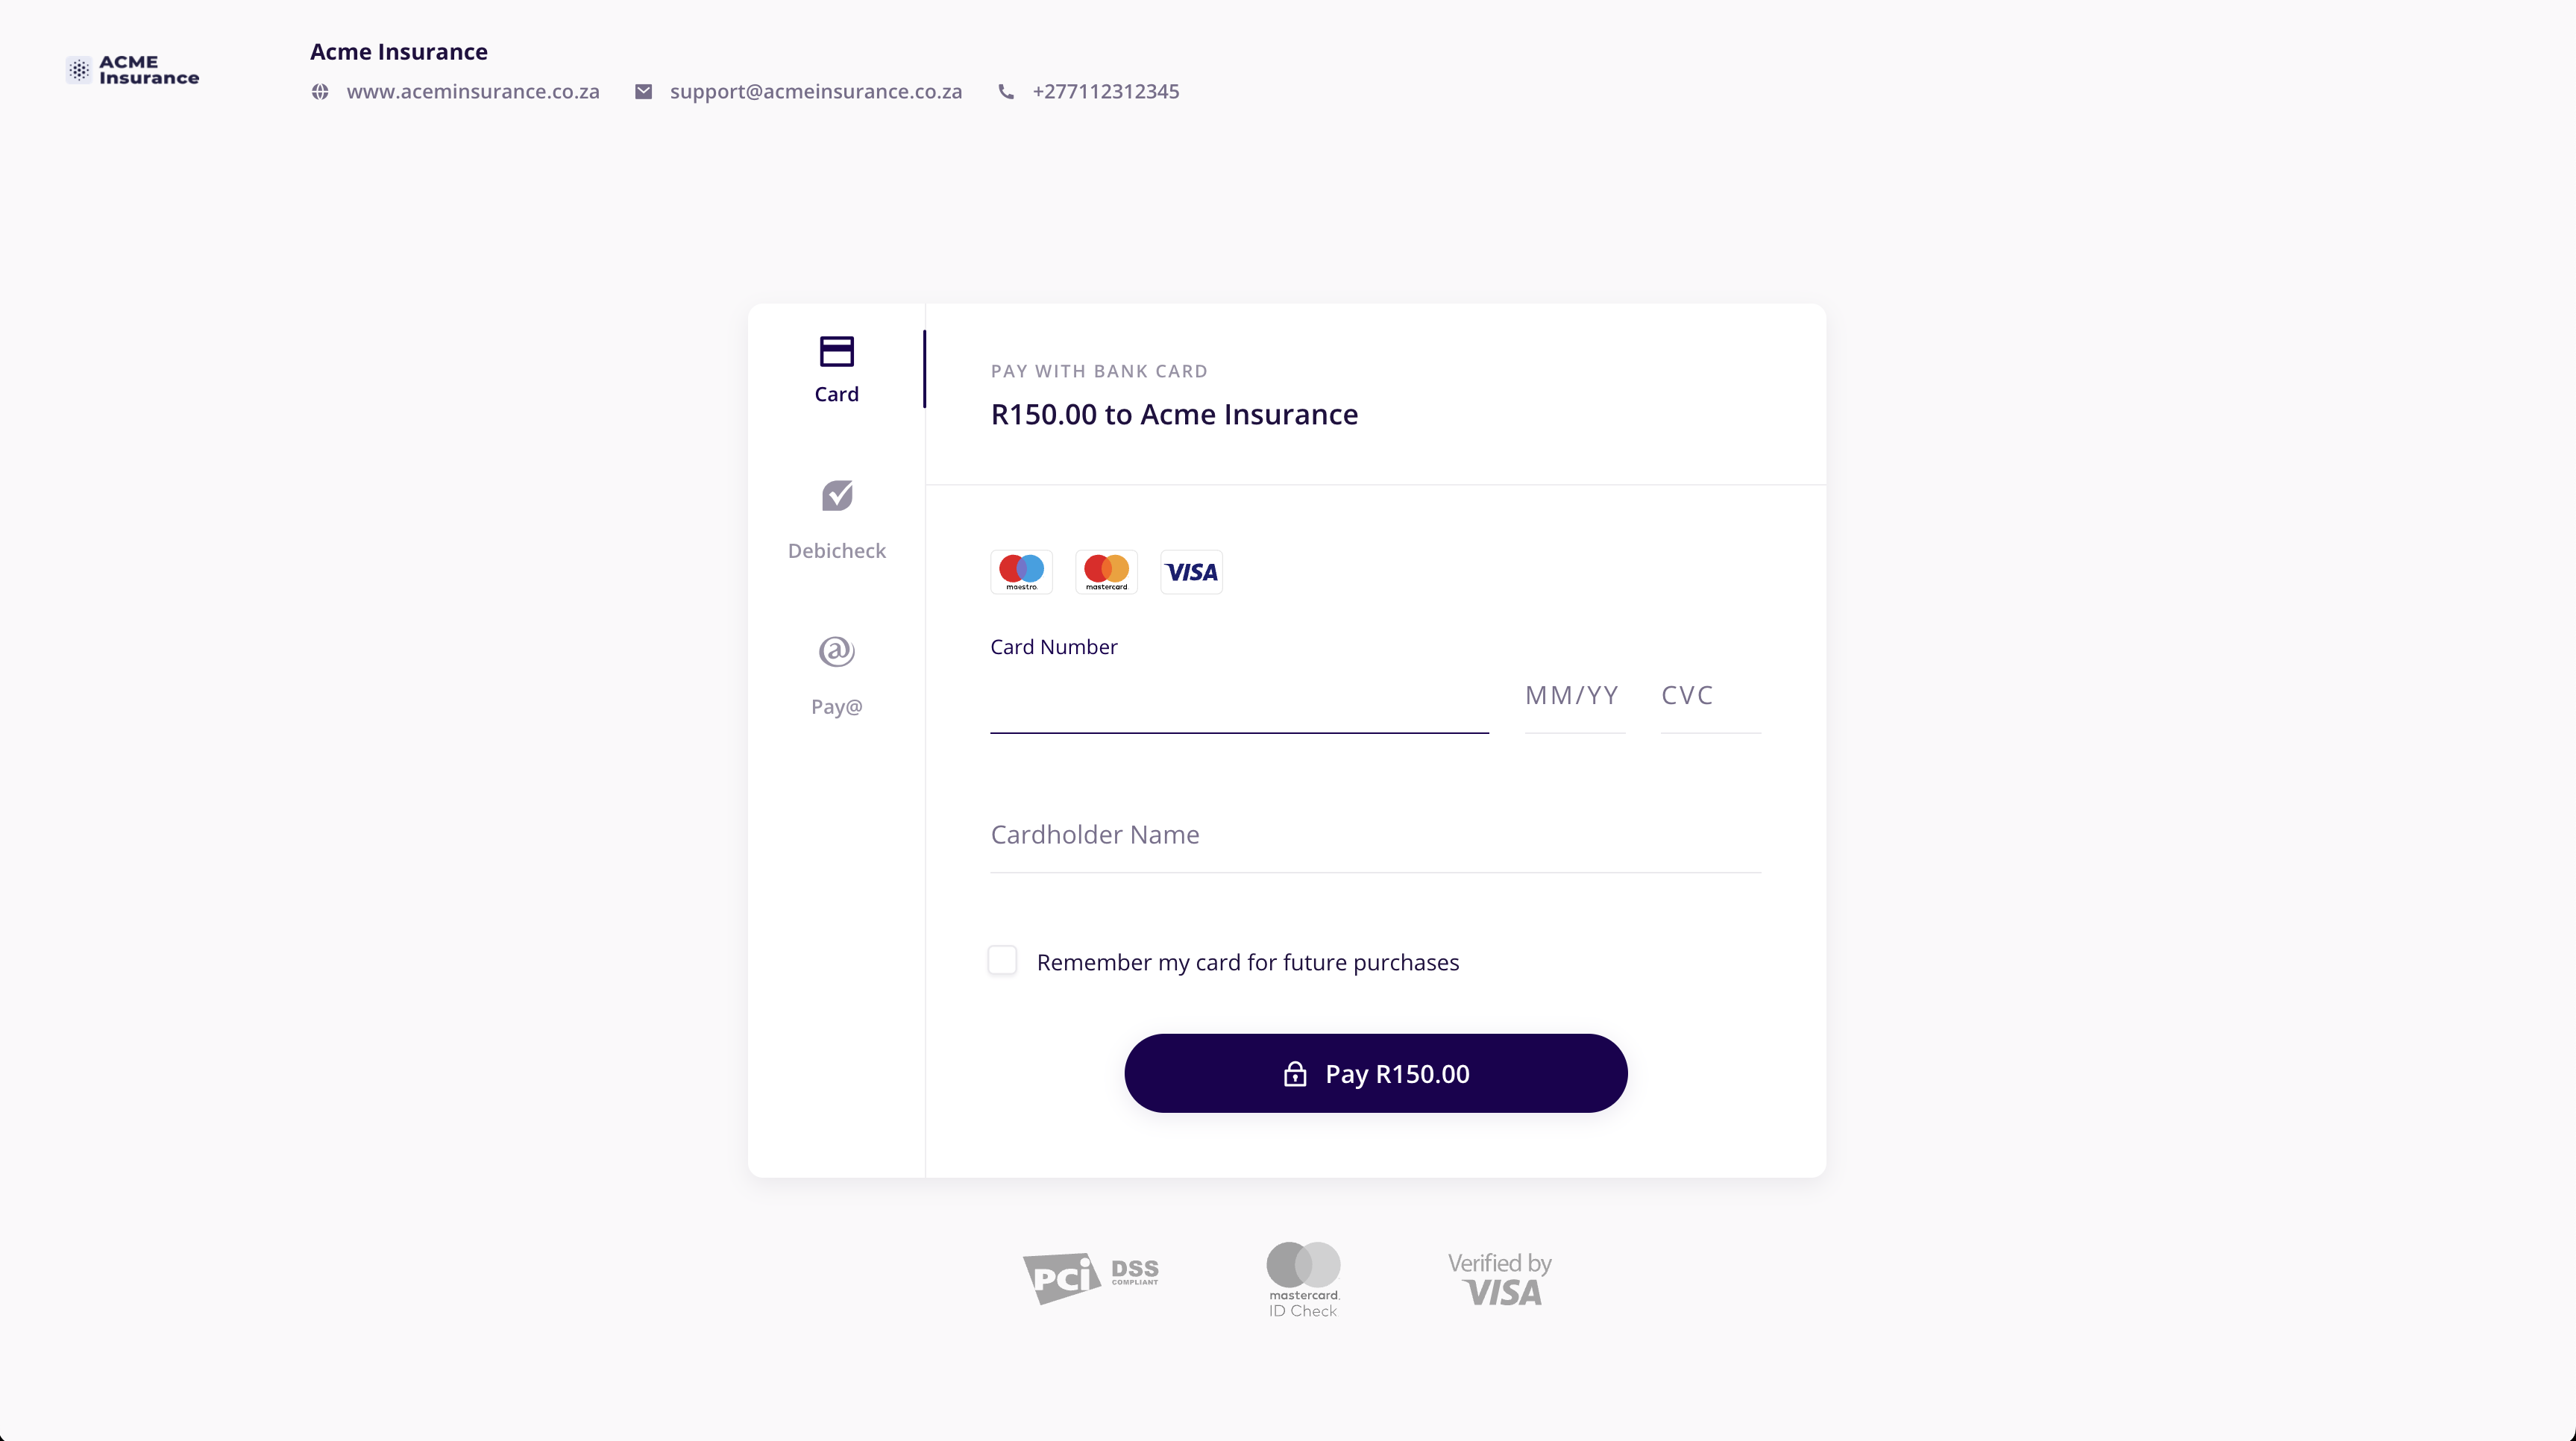
Revio's standard payment flow empowers merchants to utilize a hosted and secure payments page. Merchants can seamlessly guide their customers to initiate and complete payments through this purpose-built interface.
Additional technical documentation can be found here:
How it works
Redirect integration allows running payments using the prebuilt Revio payment flow.
Create redirect URL
To create a Purchase specify the Brand ID and API key. You can find both in the Developers section of your account.
- POST
/purchases/request to create thePurchaseand receive thecheckout_url. - Redirect the customer to the
checkout_urlto enter their card details for processing. - After the payment is processed, the system will redirect the customer back to your website (take note of
success_redirect,failure_redirect).
const options = {
  method: 'POST',
  headers: {
    accept: 'application/json',
    'content-type': 'application/json',
    authorization: 'Bearer your bearear token'
  },
  body: JSON.stringify({
    client: {email: '[email protected]'},
    purchase: {products: [{name: 'test', price: 100}]},
    brand_id: '409eb80e-3782-4b1d-afa8-b779759266a5'
  })
};

fetch('https://gate.reviopay.com/api/v1/purchases/', options)
  .then(response => response.json())
  .then(response => console.log(response))
  .catch(err => console.error(err));
curl --request POST \
--url https://gate.reviopay.com/api/v1/purchases/ \
--header 'accept: application/json' \
--header 'authorization: Bearer yourbeareartoken' \
--header 'content-type: application/json' \
--data '
{
"purchase": {
"products": [
{
"quantity": 1,
"discount": 0,
"tax_percent": 0
}
],
"language": "Default value is controlled in Company -> Brand section of merchant portal separately per each Brand used (default value, if no changes are made, is `en`). Brand to be used with corresponding Purchase/BillingTemplate specified using brand_id.",
"debt": 0,
"subtotal_override": null,
"total_tax_override": null,
"total_discount_override": null,
"total_override": null,
"due_strict": false,
"payment_method_details": {
"direct_debit": {
"default_service_type": "TWODAY"
}
}
},
"client_id": null,
"send_receipt": false,
"skip_capture": false,
"force_recurring": false,
"due": null,
"issued": null
}
'Verify payment status
The callback method is triggered when the transaction is completed. You have three options to check payment status:
- Use the
success_callbackparameter of the Purchase object. - Use GET
/purchases/<purchase_id> request. - Set up a Webhook using your account's Developers section or Webhook API to listen to
purchase.paid, orpurchase.payment_failureevent on your server.
Pro tipWhitelist the available payment methods that your customer can use by setting the available payment methods using the
payment_method_whitelistfield when creating purchases or invoices.
Updated 10 months ago